Magento 2 Add UI-select Component with Search Filter in Admin Form

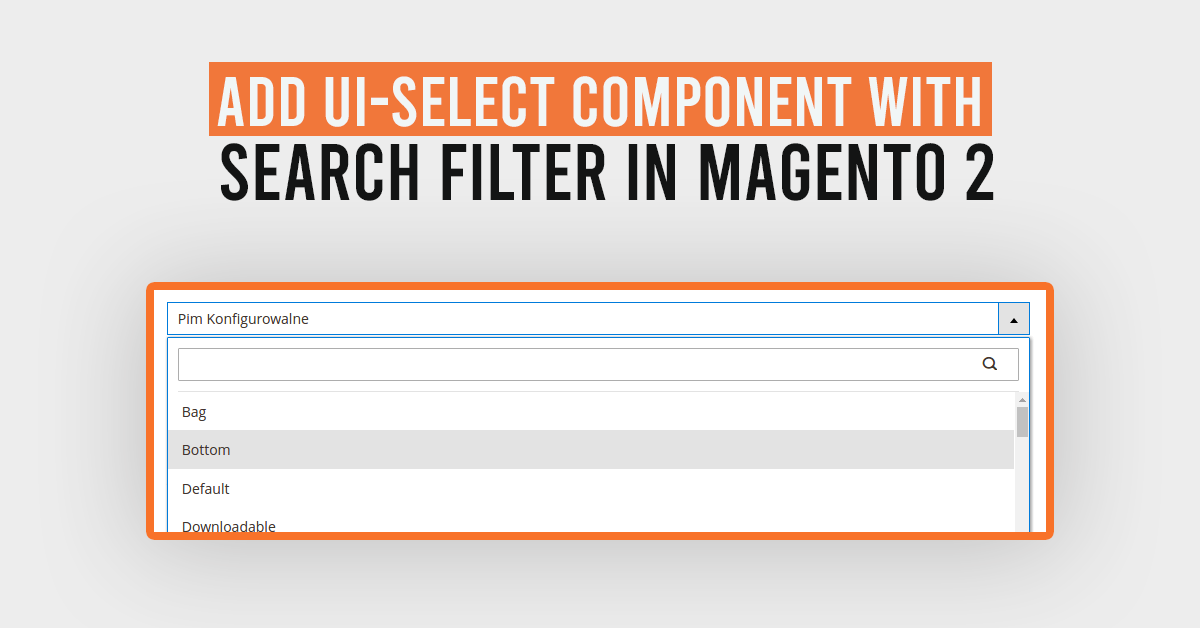
In this article, Today I will instruct on How to Add UI-select component with search filter in admin form Magento 2.
Using the below codes, you can Add An UI-select In Your Ui-Form With A Search Filter In Magento 2.
Step:1 First We will start with the field in your ui-form:
<field name="color" component="Dolphin_Customoptionextend/js/components/select-color" sortOrder="20"
               formElement="select">
            <argument name="data" xsi:type="array">
                <item name="config" xsi:type="array">
                    <item name="filterOptions" xsi:type="boolean">true</item>
                    <item name="multiple" xsi:type="boolean">false</item>
                    <item name="showCheckbox" xsi:type="boolean">true</item>
                    <item name="disableLabel" xsi:type="boolean">true</item>
                </item>
            </argument>
            <settings>
                <required>true</required>
                <validation>
                    <rule name="required-entry" xsi:type="boolean">true</rule>
                </validation>
                <elementTmpl>ui/grid/filters/elements/ui-select</elementTmpl>
                <label translate="true">Select Color</label>
                <dataScope>data.color</dataScope>
                <componentType>field</componentType>
                <listens>
                    <link name="${ $.namespace }.${ $.namespace }:responseData">setParsed</link>
                </listens>
            </settings>
            <formElements>
                <select>
                    <settings>
                        <options class="Dolphin\Customoptionextend\Ui\Component\Form\Color\Options"/>
                    </settings>
                </select>
            </formElements>
        </field>
- component: The path to the component’s .js file in terms of RequireJS.[dt_highlight color=”” text_color=”” bg_color=””](Dolphin_Customoptionextend/js/components/select-color)[/dt_highlight]
- elementTmpl: The path to the .html template of the particular type of field (select).(ui/grid/filters/elements/ui-select)
- template: The path to the general field .html template.
- options: The array of the options to be displayed in the list for selection. [dt_highlight color=”” text_color=”” bg_color=””](Dolphin\Customoptionextend\Ui\Component\Form\Color\Options)[/dt_highlight]
Also like to Read: How to create UI Form and UI Grid in Magento 2?
Step:2 Now create component (Js) file to map the field’s value:
File: app/code/Dolphin/Customoptionextend/view/adminhtml/web/js/components/select-color.js
define([
    'Magento_Ui/js/form/element/ui-select'
], function (Select) {
    'use strict';
    return Select.extend({
        /**
         * Parse data and set it to options.
         *
         * @param {Object} data - Response data object.
         * @returns {Object}
         */
        setParsed: function (data) {
            var option = this.parseData(data);
            if (data.error) {
                return this;
            }
            this.options([]);
            this.setOption(option);
            this.set('newOption', option);
        },
        /**
         * Normalize option object.
         *
         * @param {Object} data - Option object.
         * @returns {Object}
         */
        parseData: function (data) {
            return {
                value: data.color.id,
                label: data.color.name
            };
        }
    });
});
Step:3 Now create a file to get options(return array) to display in select:
File: app/code/Dolphin/Customoptionextend/Ui/Component/Form/Color/Options.php
<?php

namespace Dolphin\Customoptionextend\Ui\Component\Form\Color;

use Magento\Framework\App\RequestInterface;
use Magento\Framework\Data\OptionSourceInterface;
use \Magento\Eav\Model\Config;

class Options implements OptionSourceInterface
{
    /**
     * @var RequestInterface
     */
    protected $request;

    /**
     * @var Config
     */
    protected $_eavConfig;

    /**
     * @param Config $eavConfig
     * @param RequestInterface $request
     */
    public function __construct(
        Config           $eavConfig,
        RequestInterface $request
    )
    {
        $this->_eavConfig = $eavConfig;
        $this->request = $request;
    }

    /**
     * {@inheritdoc}
     */
    public function toOptionArray()
    {
        $coloOptions = $this->getColorOption();
        return $coloOptions;
    }

    protected function getColorOption()
    {
        $attribute = $this->_eavConfig->getAttribute('catalog_product', 'color');//color is a product attribute
        $options = $attribute->getSource()->getAllOptions();
        return $options;
    }

}
Like to Read: Product Labels for Magento 2
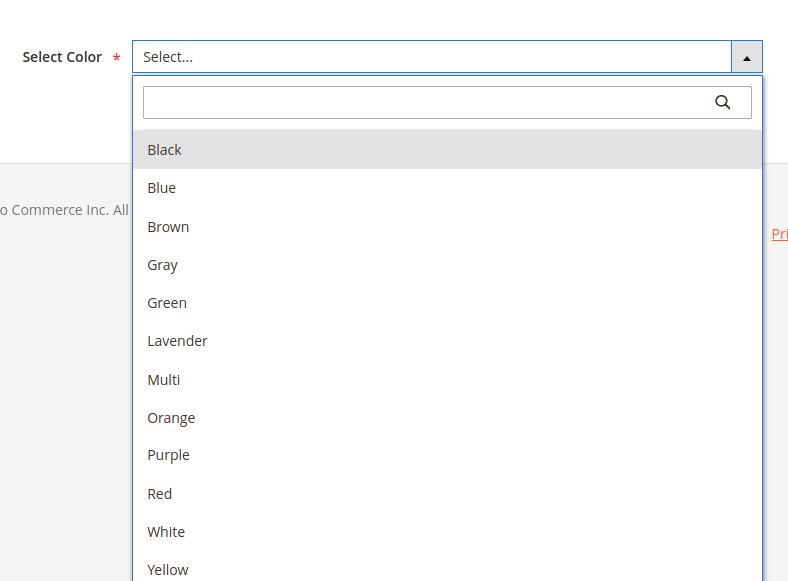
Result:
I Hope, This instruction will be helpful for you.
If you have any difficulties regarding this blog, do consider them posting in the Comments section below!
I’m here to help.
Thank you!

We can help you with
- Dedicated Team
- Setup Extended Team
- Product Development
- Custom App Development
Our Offices

AHMEDABAD (INDIA)
B- 203-206, Empire Business Hub, Science City Road, Sola, Ahmedabad – 380060

BERLIN (GERMANY)
Badensche Str. 28, 10715 Berlin, Germany

CALIFORNIA (USA)
9601 Reseda Blvd, Apt#223, Northridge CA-91324, USA

ALBERTA (CANADA)
302 Skyview Ranch Drive NE, Calgary, Alberta, Canada T3N0P5


Hello!
Click one of our contacts below to chat on WhatsApp