How to Customize Product Page Layout in Magento 2

In this article. we will create a new product layout in Magento.
As you may be aware, each product needs a distinct page layout depending on its features and style. The goal is to alter a product page layout for numerous products within a category without changing the category layout.
To do so, we’ll need to go through the fundamentals first, and only then will we be able to change the product page layout using layout files. We are one of the top notch leading Magento 2 development company.
How to customize product page layout
You’ll need to override the layout file for that page with a custom one if you want to change the layout. To do so, go to your theme’s product page and look for the layout files.
Customize product view pages
On the product page, use containers to organize content in the layout. You can add blocks to the container by referencing it.
Container tags in a layout XML file are used to assign content structure to a page. Except for the content of contained elements, a container has no additional content. Containers include the following:
- product.info.main
- product.info.price
- product.info.stock.sku
- product.info.form.content
- product.info.extrahint
- product.info.social
- Product.info.media
Method 1: Create a custom product layout by product type
This section contains information on product layout files. In the common layout files, you can customize view pages for all product types. It is also possible to make the customization on a specific product type. please check the below default Magento product types.
| catalog_product_view.xml | Common layout. Affects all product types |
| catalog_product_view_type_simple.xml | Layout from this file is applied to simple products only |
| catalog_product_view_type_configurable.xml | Layout from this file is applied to configurable products only |
| catalog_product_view_type_grouped.xml | Layout from this file is applied to grouped products only |
| catalog_product_view_type_downloadable.xml | Layout from this file is applied to downloadable products only |
| catalog_product_view_type_bundle.xml | Layout from this file is applied to bundle product only |
| catalog_product_view_type_virtual.xml | Layout from this file is applied to virtual products only |
You’ll need to insert an an.XML file in a specific location (app/design/frontend/<Vendor>/<Theme>/Magento Catalog/layout/catalog_product_view_type_<product-tyep>.xml) to apply custom layout adjustments to your product pages. From there, I updated the layout. The XML file will then display as a selectable option under Custom Layout Update.
Example
=> Create catalog_product_view_type_configurable.xml file at app/design/frontend/Dolphin/custom_theme/Magento Catalog/layout/
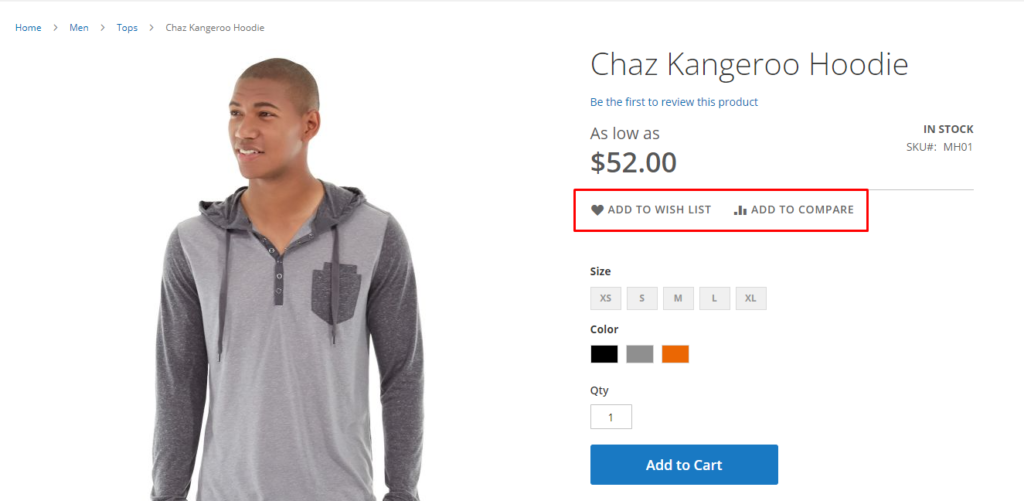
Inside the file we move the product info social code as shown below:
<?xml version="1.0"?>
<!--
/**
 * Created By: Dolphin Web Solution Pvt. Ltd.
 */
-->

<page xmlns:xsi="http://www.w3.org/2001/XMLSchema-instance" xsi:noNamespaceSchemaLocation="urn:magento:framework:View/Layout/etc/page_configuration.xsd">
    <body>
        <attribute name="class" value="custom page-product-configurable"/>
        <move element="product.info.social" destination="product.info.main" after="product.info.price"/>
    </body>
</page>
On the storefront, there is a new custom layout with your custom changes

Method 2: Create a custom product layout by product SKU
You’ll need to insert an an.XML file in a specific location (app/design/frontend/<Vendor>/<Theme>/Magento Catalog/layout/) to apply custom layout adjustments to your product pages.
The custom layout update file names rule
The following rule should be followed while naming your custom layout update files:
catalog_product_view_sku_<Product SKU>.xml
Note: <Product_SKU>: is the SKU of the product to that you want to apply a custom layout update
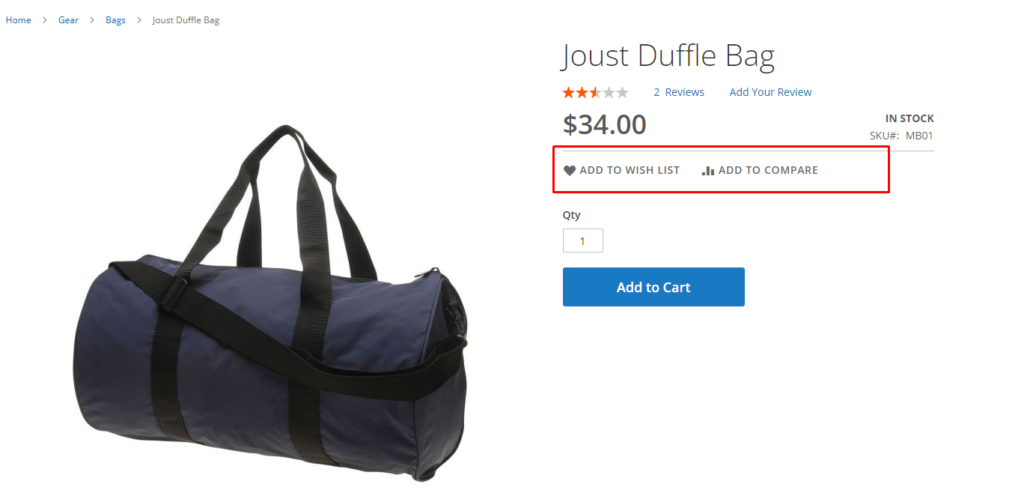
If we wish to deploy a new custom layout update to this SKU: MB01, for example. In /theme dir/Magento Catalog/layout/.
Example
=> Create catalog_product_view_sku_MB01.xml file at app/design/frontend/Dolphin/custom_theme/Magento Catalog/layout/
Inside the file we move the product info social code as shown below:
<?xml version="1.0"?>
<!--
/**
 * Created By: Dolphin Web Solution Pvt. Ltd.
 */
-->
<page xmlns:xsi="http://www.w3.org/2001/XMLSchema-instance" xsi:noNamespaceSchemaLocation="urn:magento:framework:View/Layout/etc/page_configuration.xsd">
    <body>
        <attribute name="class" value="custom"/>
        <move element="product.info.social" destination="product.info.main" after="product.info.price"/>
    </body>
</page>
On the storefront, there is a new custom layout with your custom changes.

Method 3: Create a custom product layout by product ID
If you wish to alter the product page layout for a product with ID 2, the layout file’s name must follow this format:
File format: catalog_product_view_id_number.xml
Example
=> Create catalog_product_view_id_2.xml file at app/design/frontend/Dolphin/custom_theme/Magento Catalog/layout/
Inside the file we move the product info social code as shown below:
<?xml version="1.0"?>
<!--
/**
 * Created By: Dolphin Web Solution Pvt. Ltd.
 */
-->
<page xmlns:xsi="http://www.w3.org/2001/XMLSchema-instance" xsi:noNamespaceSchemaLocation="urn:magento:framework:View/Layout/etc/page_configuration.xsd">
    <body>
        <attribute name="class" value="custom"/>
        <move element="product.info.social" destination="product.info.main" after="product.info.price"/>
    </body>
</page>
On the storefront, there is a new custom layout with your custom changes
Conclusion
As you can look from these simple examples, it’s easy to customize the page using a custom layout. Apply some CSS for styling and you’ll have your new page layout with new customized content a couple of times.
You may also like to read
That’s it!
I hope this technical blog will help you to find what you were looking for.
That’s all, If you have any further questions about Magento 2 theme development or if need any help from our Magento 2 expert, contact us now for a free consultation.
Bookmark it for your future reference. Do comment below if you have any other questions.
P.S. Do share this note with your team.

Hello!
Click one of our contacts below to chat on WhatsApp

