In this blog, we discuss the way to send emails with Laravel’s queue job. Sending emails via queues will improve the overall performance and users revel in your software by sending emails inside the background. We will talk about the way to set up e-mail configurations, create mailable lessons, define jobs, and dispatch them with a sensible example.
Overview Of Queue Jobs in Laravel
A queue is a very nice Larvel feature that can help you to delay the processing of a time-consuming task like dispatching an email. Jobs are an abstraction layer for individual tasks that are appended to a queue that is processed outside of the request cycle, which will make your application faster by delegating these tasks to something that is not in the main request. Using queue jobs in Laravel to send emails will keep your application responsive and help dispatch emails efficiently as well.
Steps to Send Emails in the Background with Laravel
Step-1. Set Up the Laravel Project
Set up the new Laravel project to use this blog, if you do not create a new Laravel project, create it by running the following command:
Laravel supports several queue drivers by default. From a technical standpoint, the driver is where the queued jobs will be stored until they are handled. Here is a quick comparison of some of the available drivers:
1. Sync:
The sync driver handles jobs immediately. It’s a great option for local development and testing, but it’s not suitable for production.
Filename: .env
Plain text
Copy to clipboard
Open code in new window
EnlighterJS 3 Syntax Highlighter
QUEUE_CONNECTION=sync
QUEUE_CONNECTION=sync
QUEUE_CONNECTION=sync
2. Database:
The database driver stores jobs on a relational database. The driver is perfect for production and fairly easy to configure.
Filename: .env
Plain text
Copy to clipboard
Open code in new window
EnlighterJS 3 Syntax Highlighter
QUEUE_CONNECTION=database
QUEUE_CONNECTION=database
QUEUE_CONNECTION=database
In Laravel, you may create a jobs table Executing the below command:
php artisan queue:table
php artisan migrate
This command will create a jobs table in your database.
3.Other Drivers
1. Redis:
In Laravel, you can also configure Redis as a queue motive force that allows storing queued jobs and managing them in the history.
To use Redis as the queue driver in Laravel, you need to configure it in the config/queue.php file:
Filename: queue.php
Plain text
Copy to clipboard
Open code in new window
EnlighterJS 3 Syntax Highlighter
'connections' =>[
'redis' =>[
'driver' =>'redis',
'connection' =>'default', // The Redis connection to use
'queue' =>env('REDIS_QUEUE', 'default'),
'retry_after' =>90,
'block_for' =>null,
],
],
'connections' => [
 'redis' => [
    'driver' => 'redis',
    'connection' => 'default', // The Redis connection to use
    'queue' => env('REDIS_QUEUE', 'default'),
    'retry_after' => 90,
    'block_for' => null,
    ],
],
'connections' => [
'redis' => [
'driver' => 'redis',
'connection' => 'default', // The Redis connection to use
'queue' => env('REDIS_QUEUE', 'default'),
'retry_after' => 90,
'block_for' => null,
],
],
Also, define the Redis connection details in your .env file:
Create a mailable class that will be used to send emails.
php artisan make:mail BlogPostPublished
The command creates a new class in app/Mail/BlogPostPublished.php.
Filename: BlogPostPublished.php
Plain text
Copy to clipboard
Open code in new window
EnlighterJS 3 Syntax Highlighter
<?php
namespace App\Mail;
use Illuminate\Bus\Queueable;
use Illuminate\Contracts\Queue\ShouldQueue;
use Illuminate\Mail\Mailable;
use Illuminate\Mail\Mailables\Content;
use Illuminate\Mail\Mailables\Envelope;
use Illuminate\Queue\SerializesModels;
class BlogPostPublished extends Mailable
{
use Queueable, SerializesModels;
protected$data;
public$subject;
publicfunction__construct($data,$subject)
{
$this->data = $data;
$this->subject = $subject;
}
publicfunctionenvelope(): Envelope
{
returnnewEnvelope(
subject: $this->subject,
);
}
publicfunctioncontent(): Content
{
returnnewContent(
view: 'blog-mail',
with: [
'data' =>$this->data,
],
);
}
publicfunctionattachments(): array
{
return[
// Here, you can attach your file with something like
// Attachment::fromPath($this->filepath),
];
}
}
<?php
namespace App\Mail;

use Illuminate\Bus\Queueable;
use Illuminate\Contracts\Queue\ShouldQueue;
use Illuminate\Mail\Mailable;
use Illuminate\Mail\Mailables\Content;
use Illuminate\Mail\Mailables\Envelope;
use Illuminate\Queue\SerializesModels;

class BlogPostPublished extends Mailable
{
    use Queueable, SerializesModels;

    protected $data;
    public $subject;

    public function __construct($data, $subject)
    {
        $this->data = $data;
        $this->subject = $subject;
    }

    public function envelope(): Envelope
    {
        return new Envelope(
            subject: $this->subject,
        );
    }

    public function content(): Content
    {
        return new Content(
            view: 'blog-mail',
            with: [
                'data' => $this->data,
            ],
        );
    }

    public function attachments(): array
    {
        return [
            // Here, you can attach your file with something like
            // Attachment::fromPath($this->filepath),
        ];
    }
}
<?php
namespace App\Mail;
use Illuminate\Bus\Queueable;
use Illuminate\Contracts\Queue\ShouldQueue;
use Illuminate\Mail\Mailable;
use Illuminate\Mail\Mailables\Content;
use Illuminate\Mail\Mailables\Envelope;
use Illuminate\Queue\SerializesModels;
class BlogPostPublished extends Mailable
{
use Queueable, SerializesModels;
protected $data;
public $subject;
public function __construct($data, $subject)
{
$this->data = $data;
$this->subject = $subject;
}
public function envelope(): Envelope
{
return new Envelope(
subject: $this->subject,
);
}
public function content(): Content
{
return new Content(
view: 'blog-mail',
with: [
'data' => $this->data,
],
);
}
public function attachments(): array
{
return [
// Here, you can attach your file with something like
// Attachment::fromPath($this->filepath),
];
}
}
Step-5. Create a Job:
You can create only a single job (e.g., SendEmailJob) to manage all email-sending activities in a single location in the Laravel application.
One job can send several types of emails with the same single job, you only need to pass the data it requires, such as the post email mailable classes and any other extras.
Use this command to generate a job that will handle sending the email in the background:
php artisan make:job SendEmailJob
The previous command generates a new class in a file named SendEmailJob.php under the app/Jobs/ Modify the created class as follows:
Filename: SendEmailJob.php
Plain text
Copy to clipboard
Open code in new window
EnlighterJS 3 Syntax Highlighter
<?php
namespace App\Jobs;
use Illuminate\Bus\Queueable;
use Illuminate\Support\Facades\Log;
use Illuminate\Support\Facades\Mail;
use Illuminate\Queue\SerializesModels;
use Illuminate\Queue\InteractsWithQueue;
use Illuminate\Contracts\Queue\ShouldQueue;
use Illuminate\Foundation\Bus\Dispatchable;
class SendEmailJob implements ShouldQueue
{
use Dispatchable, InteractsWithQueue, Queueable, SerializesModels;
<?php
namespace App\Jobs;

use Illuminate\Bus\Queueable;
use Illuminate\Support\Facades\Log;
use Illuminate\Support\Facades\Mail;
use Illuminate\Queue\SerializesModels;
use Illuminate\Queue\InteractsWithQueue;
use Illuminate\Contracts\Queue\ShouldQueue;
use Illuminate\Foundation\Bus\Dispatchable;

class SendEmailJob implements ShouldQueue
{
    use Dispatchable, InteractsWithQueue, Queueable, SerializesModels;
    protected $mail_to, $template;


    public function __construct($mail_to, $template)
    {
        $this->mail_to = $mail_to;
        $this->template = $template;
    }


    public function handle()
    {
        try {
            Mail::to($this->mail_to)->send($this->template);
        } catch (\Exception $e) {
            Log::error('Mail Sending Failed | ' . $e->getMessage());
        }
    }
}
<?php
namespace App\Jobs;
use Illuminate\Bus\Queueable;
use Illuminate\Support\Facades\Log;
use Illuminate\Support\Facades\Mail;
use Illuminate\Queue\SerializesModels;
use Illuminate\Queue\InteractsWithQueue;
use Illuminate\Contracts\Queue\ShouldQueue;
use Illuminate\Foundation\Bus\Dispatchable;
class SendEmailJob implements ShouldQueue
{
use Dispatchable, InteractsWithQueue, Queueable, SerializesModels;
protected $mail_to, $template;
public function __construct($mail_to, $template)
{
$this->mail_to = $mail_to;
$this->template = $template;
}
public function handle()
{
try {
Mail::to($this->mail_to)->send($this->template);
} catch (\Exception $e) {
Log::error('Mail Sending Failed | ' . $e->getMessage());
}
}
}
Step-6. Create View File
You now need to generate a view to be sent in the email. Run this command:
php artisan make:view blog-mail
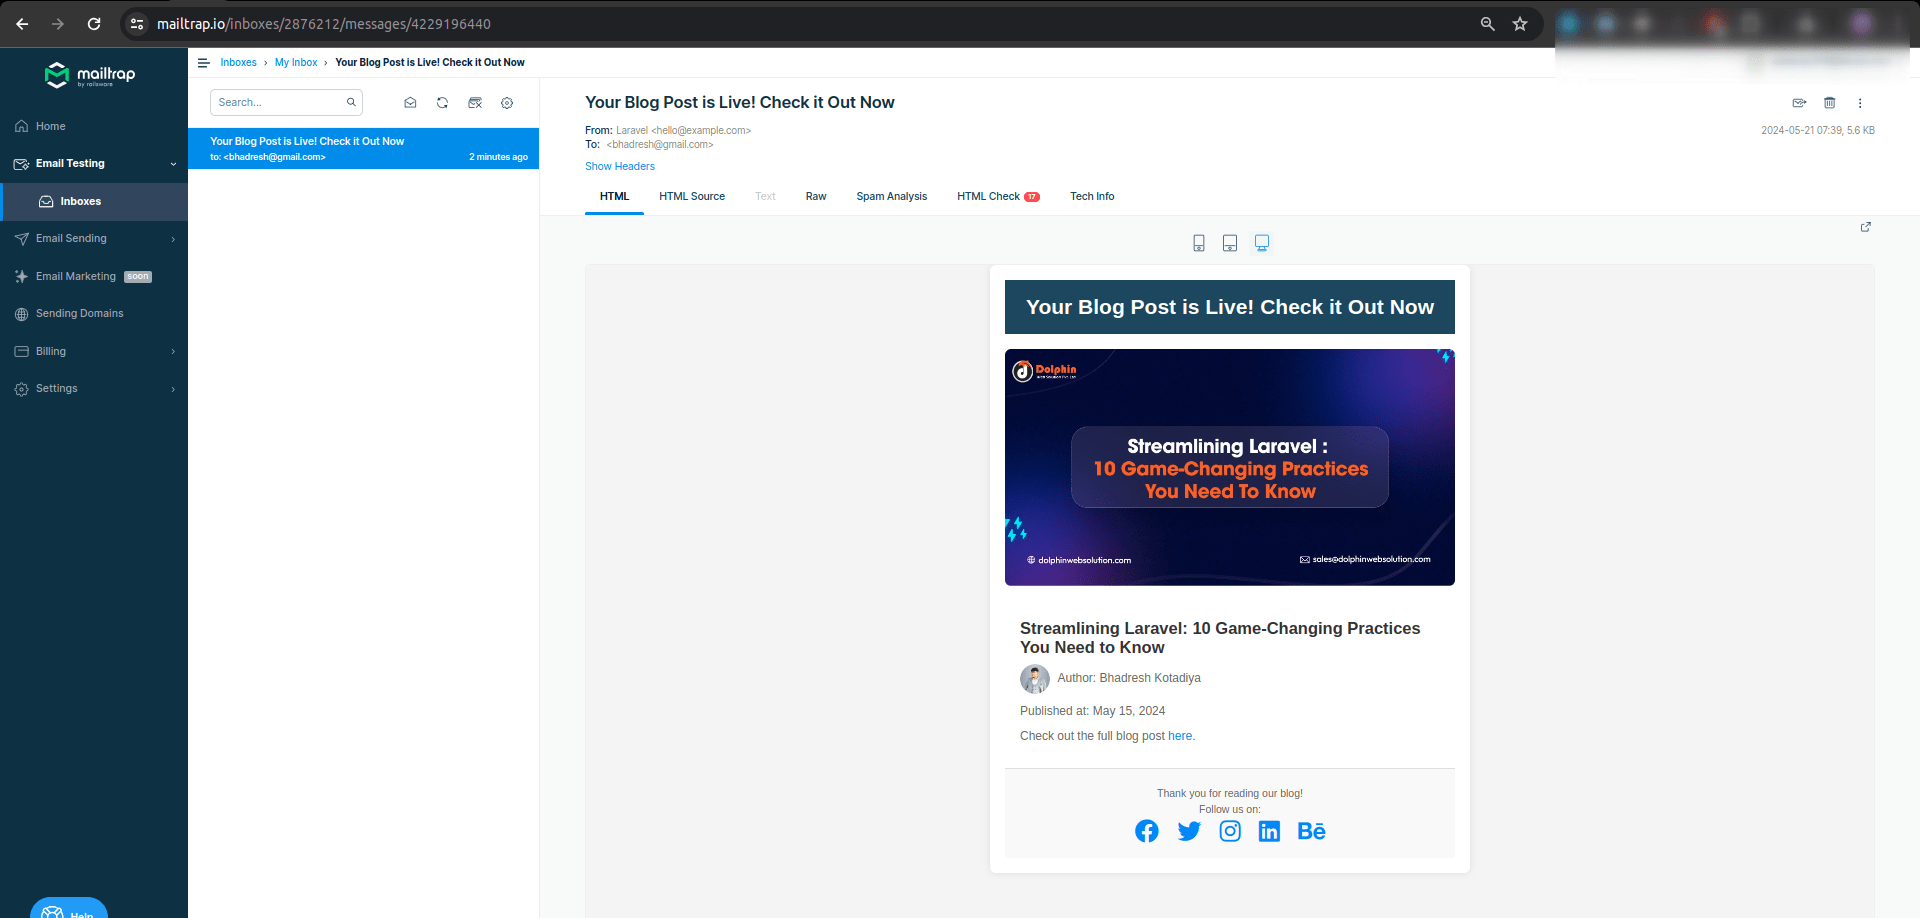
The preceding command creates a new view file, resources/views/blog-mail.blade.php, containing the Email HTML content.
This command will create a new controller file named BlogPostPublishedController.php in the app/Http/Controllers directory.
Inside this controller, we will call BlogPostPublished and SendEmailJob and send the emails using this.
Filename: BlogPostPublishedController.php
Plain text
Copy to clipboard
Open code in new window
EnlighterJS 3 Syntax Highlighter
<?php
namespace App\Http\Controllers;
use App\Jobs\SendEmailJob;
use App\Mail\BlogPostPublished;
use Illuminate\Http\Request;
class BlogPostPublishedController extends Controller
{
publicfunctionBlogPostPublished(Request $request)
{
$staticPostData = [
'title' =>'Streamlining Laravel: 10 Game-Changing Practices You Need to Know',
dd("We have emailed subscribers about your new blog post!");
}
}
<?php
namespace App\Http\Controllers;
use App\Jobs\SendEmailJob;
use App\Mail\BlogPostPublished;
use Illuminate\Http\Request;
class BlogPostPublishedController extends Controller
{
public function BlogPostPublished(Request $request)
{
$staticPostData = [
'title' => 'Streamlining Laravel: 10 Game-Changing Practices You Need to Know',
'blog-link' => "https://dolphinwebsolution.com/blog/laravel-10-game-changing-practices/",
'email' => "bhadresh@gmail.com",
'author' => 'Bhadresh Kotadiya',
'published_at' => 'May 15, 2024',
];
$subject = "Your Blog Post is Live! Check it Out Now";
$template = new BlogPostPublished($staticPostData, $subject);
SendEmailJob::dispatch($staticPostData['email'], $template);
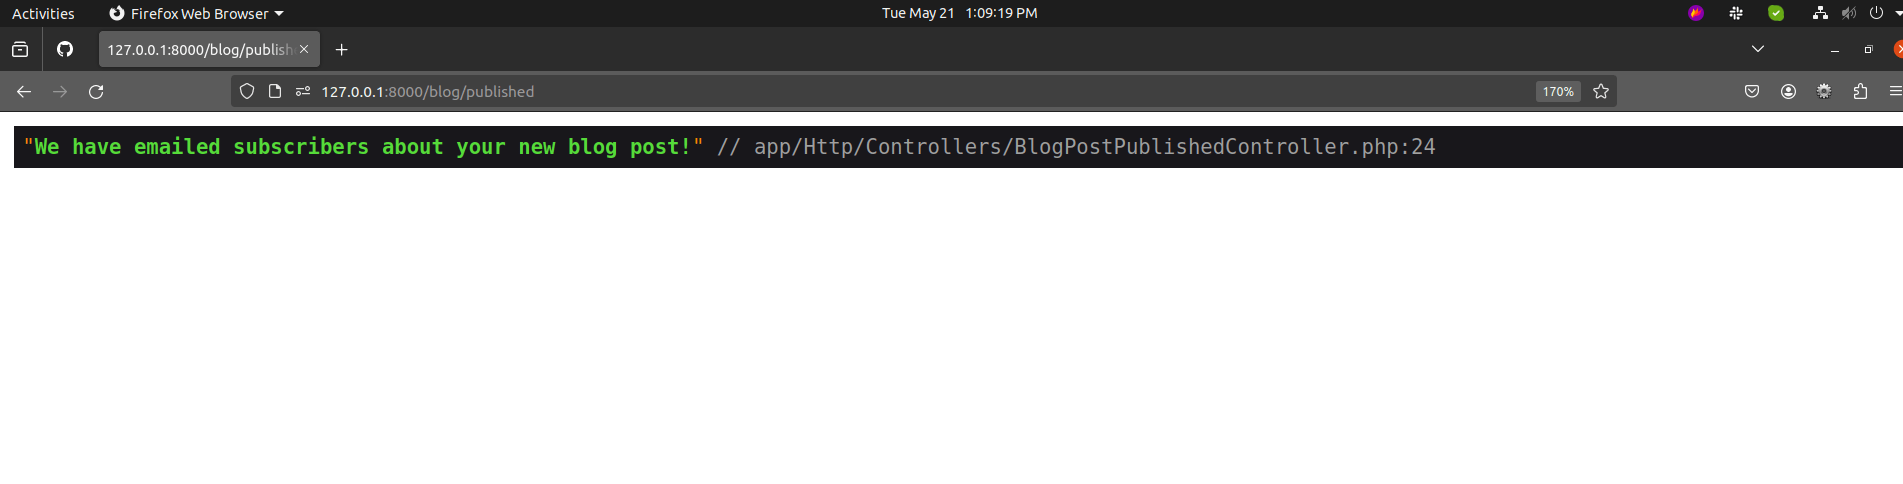
dd("We have emailed subscribers about your new blog post!");
}
}
Step-8. Add Route in Web.php File:
Plain text
Copy to clipboard
Open code in new window
EnlighterJS 3 Syntax Highlighter
use App\Http\Controllers\BlogPostPublishedController;
use App\Http\Controllers\BlogPostPublishedController;
Route::get('blog/published', [BlogPostPublishedController::class,
'BlogPostPublished'])->name('blog.published');
use App\Http\Controllers\BlogPostPublishedController;
Route::get('blog/published', [BlogPostPublishedController::class,
'BlogPostPublished'])->name('blog.published');
Step-9. Serve your project:
Start your project by running php artisan serve.
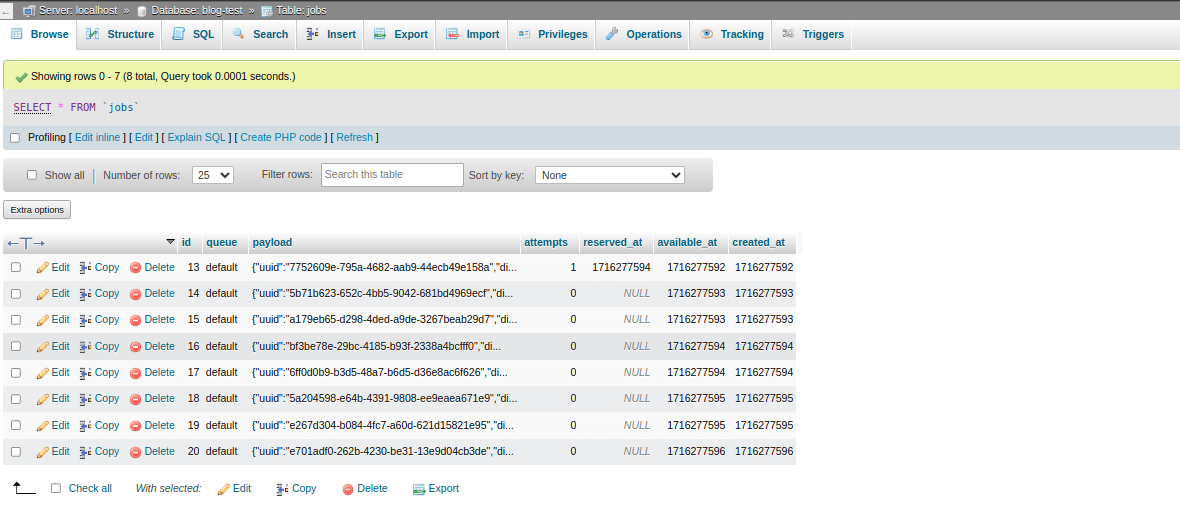
After starting your project with php artisan serve, you can hit the URL(http://127.0.0.1:8000/blog/published) to trigger the mail send functionality. This action will queue the email job and store it in the jobs table because we are using QUEUE_CONNECTION=database.
Step-10. Start the queue worker to process the jobs:
When you run php artisan queue:work, all queued jobs are processed, and the emails are sent accordingly.
In conclusion, sending an e-mail by way of queuing Laravel’s jobs for notifications allows you to fast and effectively method historical past jobs. The application remains quick and user-friendly by utilizing various capabilities to make certain that it operates effectively. Following the above steps to integrate this feature into the Laravel initiatives will enhance the machine’s performance and value to an outstanding quantity.
Dolphin Web Solution has dedicated and skilled Laravel developers. Are you looking for a Laravel expert? If yes, then without wasting a second, contact us and hire a Laravel developer. We ensure to provide the best and most proficient Laravel developers who can meet your requirements.
Bhadresh Kotadiya
Author
Meet Bhadresh Kotadiya, a skilled Laravel developer known for his passion for fitness, knack for problem-solving, love for reading, and expertise in code debugging. Always ready to take on new challenges. he brings his experience in Laravel development to the table, seamlessly blending it with his current projects.
Dolphin Web Solution is a Top Rated Web And App Development Company
Over 14 years of work, we’ve helped over 140 Startups & Companies to Design & Build Successful Mobile and Web Apps.