User Guide - Customer Attributes for Magento 2
Create New Customer Attributes
Create New Customer Attributes
To easily create an unlimited number of attributes just go to Customers > Dolphin Customer Attributes > Customer Attributes.
Manage Customer Attributes

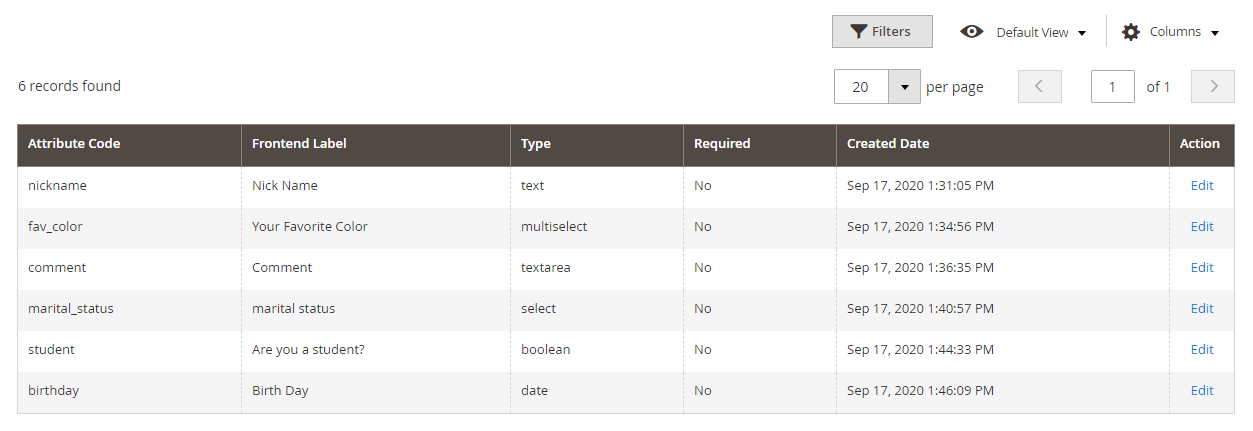
You can see all the created customer attributes in the grid with having the option to edit them.
The grid includes the attribute code, frontend label, type, required, created date and action.
Add New Attribute

To add the new customer attribute click on the Add New Attribute button, Then you will see three tabs Properties, Manage Labels and Storefront Properties.
Attribute Properties

- Default Label: Enter the label of the customer attribute.
- Catalog Input Type for Store Owner: Choose any input type: text field, text area, dropdown, date, yes/no and so on.
- Values Required: Choose Yes to make the customer attribute compulsory to fill in.
Advanced Attribute Properties

- Attribute Code: Enter a code for the customer attribute.
- Default Value: Enter the default value for the customer attribute.
- Input Validation for Store Owner: Set a type of data allowed in the field. Available values are as follows:
- None: The field has no input validation during data entry.
- Decimal Number: Accepts only decimal numbers during data entry.
- Integer Number: Accepts only integer numbers during data entry.
- Email: Accepts only an email address during data entry.
- URL: Accepts only a URL during the data entry.
- Letters: Accepts only letters during the data entry.
- Letters (a-z, A-Z) or Numbers (0-9): Accepts any combination of numbers and characters.
Manage Labels

- You can display different customer attribute labels for multiple stores as per store view.
Storefront Properties

- Show on Storefront: Choose Yes to display attributes on storefront.
- Customer can edit: Choose Yes to allow the customer to edit the attribute.
- Checkout Place: Choose the checkout place from the dropdown to display the attribute.
- Shown on Forms: Select the forms in which you want to add the attribute.
- Customer Group: Select the customer groups for adding attributes.
- Store View: Select the stores on which you want to display the attributes.
- Sort Order: Enter the sort order value.

