---
title: "How to set a theme on a specific page in Magento 2"
url: "https://dolphinwebsolution.com/how-to-set-a-theme-on-a-specific-page-in-magento-2"
date: "2023-07-22T05:27:05+05:30"
modified: "2023-08-29T06:46:05+05:30"
author:
name: "Jigar Patel"
categories:
- "Magento2"
word_count: 936
reading_time: "5 min read"
summary: "In Magento 2, you can set a specific theme for a particular page using layout_load_before event. This allows you to have different visual styles for different sections of your website. Here\'s y..."
description: "In Magento 2, you can set a specific theme for a particular page using layout_load_before event. This allows you to have different visual styles for differ..."
keywords: "specific page,set theme, Magento2"
language: "en"
schema_type: "Article"
related_posts:
- title: "Top 10 Hyvä Theme Development Companies"
url: "https://dolphinwebsolution.com/blog/top-hyva-theme-development-companies/"
- title: "Magento vs PrestaShop: Which eCommerce Platform is the Best?"
url: "https://dolphinwebsolution.com/blog/magento-vs-prestashop/"
- title: "How to call cms static block in Magento 2"
url: "https://dolphinwebsolution.com/how-to-call-cms-static-block-in-magento-2"
---
# How to set a theme on a specific page in Magento 2
_Published: July 22, 2023_
_Author: Jigar Patel_
In Magento 2, you can set a specific theme for a particular page using **`layout_load_before`** event. This allows you to have different visual styles for different sections of your website. Here’s you can set a theme on a specific page in Magento 2:
While the **`layout_load_before`** event can be useful in certain scenarios, you should exercise caution when using it, as it can affect the entire layout rendering process. It’s recommended to utilize more specific layout update events whenever possible to target only the necessary sections of the page layout.
We are already learned [how to create a basic module in Magento 2](https://dolphinwebsolution.com/how-to-create-module-in-magento-2). We need to create **module.xml** and **registration.php** files. You can create **module.xml** and **registration.php** from this tutorial.
Here we are using **Dolphin** as the Vendor name and **Customize** as the name of the module. You can change this according to your Vendor and Module name.
### Step 1: Create a routes xml file
Create **routes.xml** in **app/code/Dolphin/Customize/etc/frontend** directory with the following code.
```
```
### Step 2: Create a controller
Create **Index.php** in **app/code/Dolphin/Customize/Controller/Index** directory with the following code.
```
resultPageFactory = $resultPageFactory;
}
/**
* Execute view action
*
* @return ResultInterface
*/
public function execute()
{
return $this->resultPageFactory->create();
}
}
```
### Step 3: Create a layout file
Create **dolphin\_index\_index.xml** in **app/code/Dolphin/Customize/view/frontend/layout** directory with the following code.
```
```
### Step 4: Create a templates file
Create **index.phtml** in **app/code/Dolphin/Customize/view/frontend/templates/index** directory with the following code.
```
specific theme for this page
```
### Step 5: Create a Block class
Create **Index.php** in **app/code/Dolphin/Customize/Block/Index** directory with the following code.
```
```
The **`layout_load_before`** event is a generic event that allows you to add or remove layout updates, change block settings, or make any other adjustments to the layout configuration. The **`layout_load_before`** event is triggered before the layout file is loaded. can observe the **`layout_load_before`** event in their modules to execute their code at this specific point in the layout loading process.
### Step 7: Create an observer class file
You need to create the observer class that will handle the **`layout_load_before`** event. Create **SetThemeForDolphinPage.php** in **app/code/Dolphin/Customize/Observer** directory with the following code.
```
request = $request;
$this->design = $design;
}
/**
* @param Observer $observer
*/
public function execute(Observer $observer): void
{
$pathInfo = $this->request->getPathInfo();
if (substr($pathInfo, 0, 8) === '/dolphin') {
$this->design->setDesignTheme('Magento/blank');
}
//we add a custom block to the layout before it is loaded.
/*$layout = $observer->getEvent()->getLayout();
$layout->addBlock(
'Magento\Framework\View\Element\Template',
'custom_block_identifier',
['template' => 'Vendor_Module::custom_template.phtml']
);*/
}
}
```
The **`layout_load_before`** event is not commonly used, and there are other more specific events available for modifying the layout. It’s essential to use the appropriate events depending on your use case.
Now execute the below command and go to the system configuration page:
**php bin/magento s:up**
**php bin/magento s:d:c**
**php bin/magento s:s:d -f**
**php bin/magento c:c**
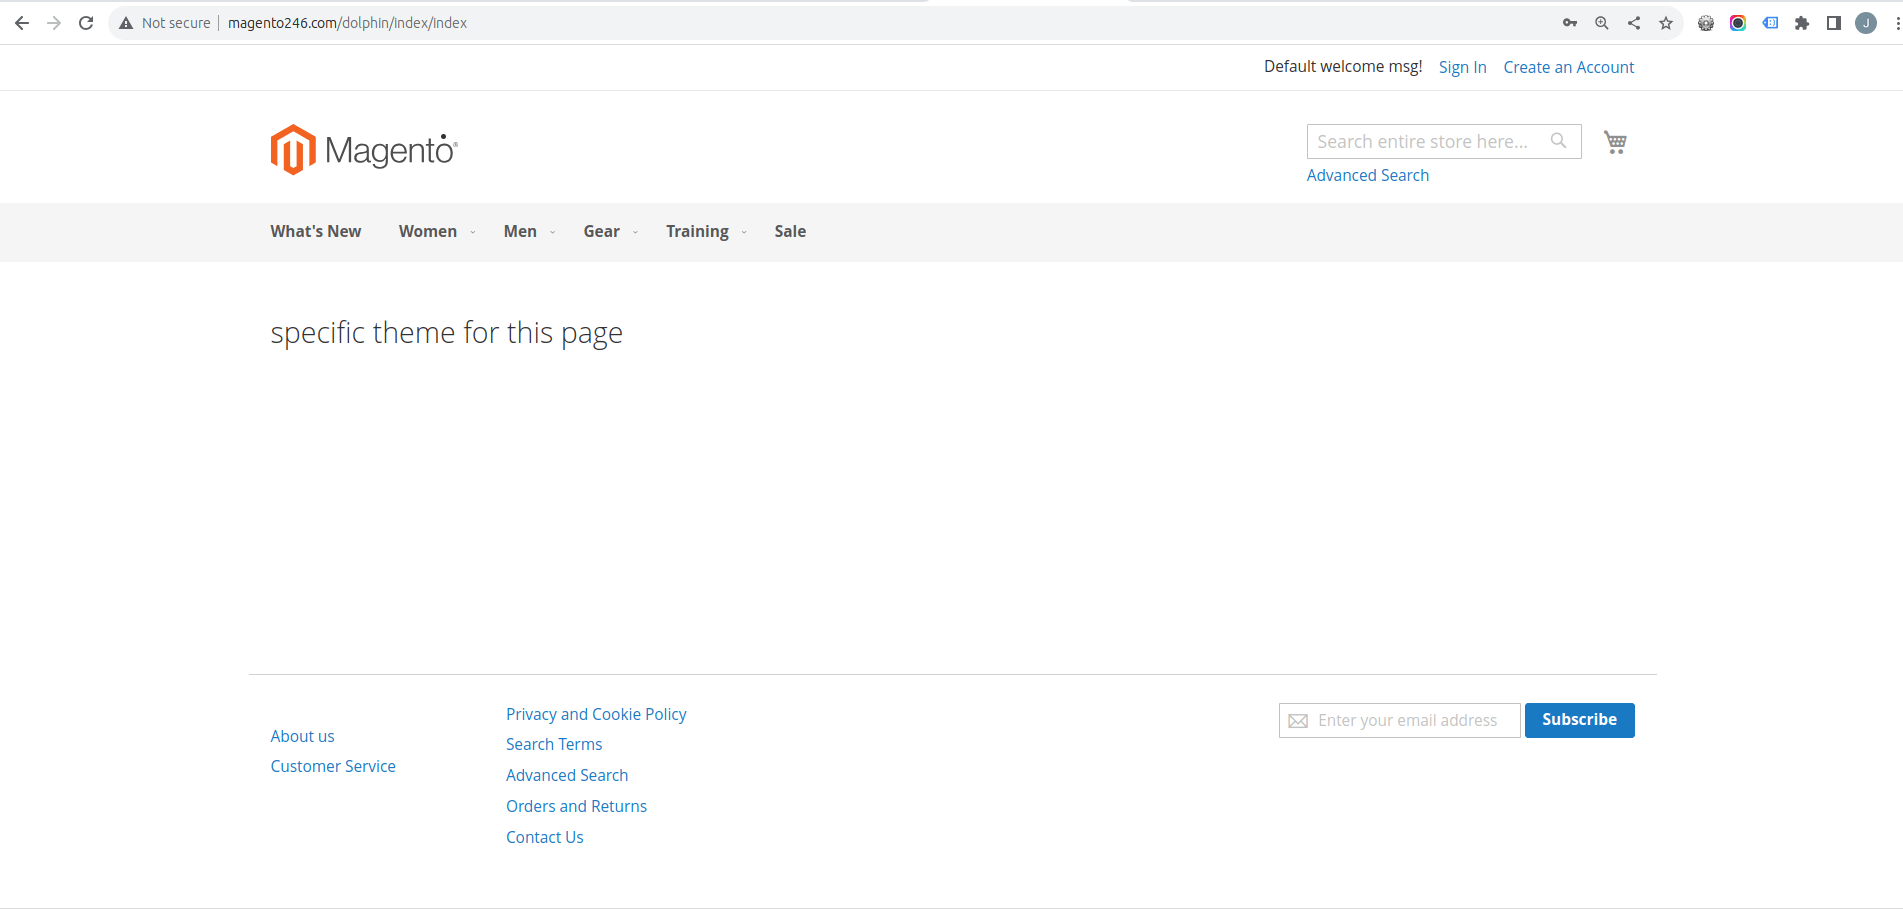
### Result:-
I Hope, This instruction will be helpful for you.
If you have any difficulties regarding this blog, do consider posting them in the Comments section below!
I’m here to help.
**Thank you!**
---
_View the original post at: [https://dolphinwebsolution.com/how-to-set-a-theme-on-a-specific-page-in-magento-2](https://dolphinwebsolution.com/how-to-set-a-theme-on-a-specific-page-in-magento-2)_
_Served as markdown by [Third Audience](https://github.com/third-audience) v3.5.3_
_Generated: 2026-08-26 06:33:20 UTC_