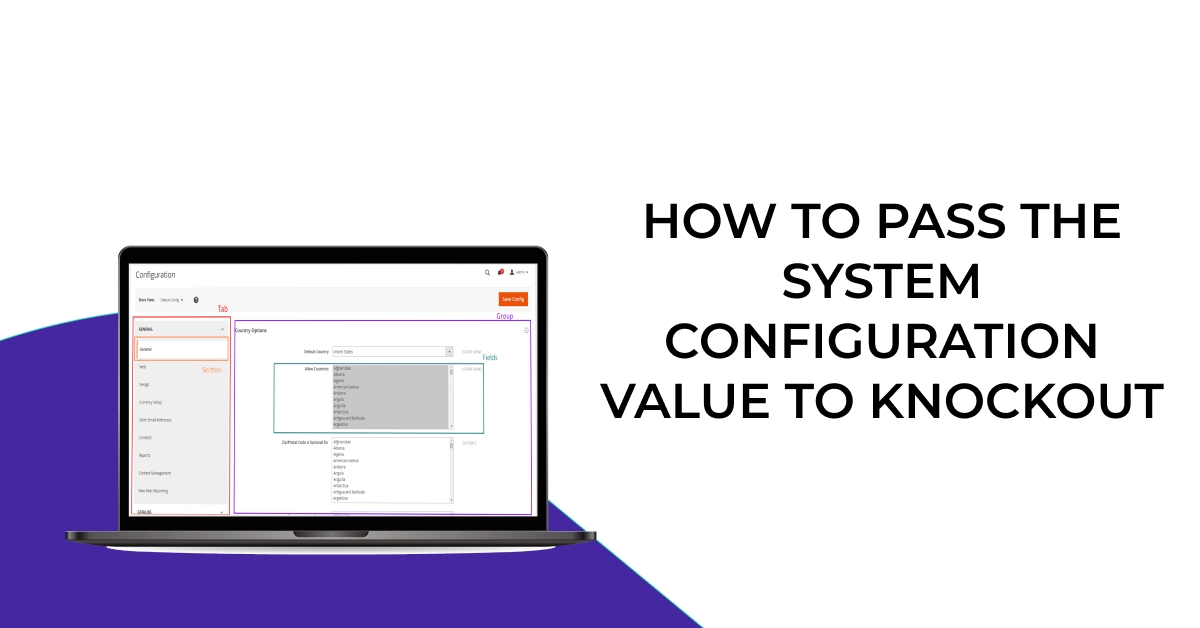
How to Pass the System Configuration Value to Knockout

We will learn how to get the Magento configuration value used in knockout Js file. Sometime Knockout Component is quite difficult to understand and in Magento 2 Knockout JS is on almost every page which used mostly on the checkout page.
Many developers want to pass system configuration value in the knockout component but they don’t know the correct way after finding many solutions so I have just shared with you little logic which helps you in the many different cases.
Steps to Pass the System Configuration Value to Knockout
We are already learned how to create a basic module in Magento 2. We need to create module.xml and registration.php files. You can create module.xml and registration.php from this tutorial.
Here we are using Dolphin as Vendor name and Custom as the name of the module. You can change this according to your Vendor and Module name.
In this logic, I assume you have already created the module and just follow below simple steps that show you the value which held on the configuration.
Quick Tip:- How To Implement Field Dependency In System Configuration Magento 2
Step 1: create js file
Create js file getValue.js in app/code/Dolphin/Custom/view/frontend/web/js/view/ folder with the following code.
define(
    [
        'Magento_Checkout/js/view/payment/default',
        'mage/storage',
        'mage/url',
        'jquery',
    ],
    function (Component,storage,url,jquery) {
        'use strict';

        return Component.extend({
            getValue: function() {
                var serviceUrl = url.build('custom/custom/storeconfig');
                storage.get(serviceUrl).done(
                    function (response) {
                        if (response.success) {
                            return jQuery('.element').text(response.value);
                        }
                    }
                ).fail(
                    function (response) {
                        return jQuery('.element').text(response.value);
                    }
                );
            }
        });
    }
);
In the above JS file, as you can see we create one function “getValue” which calls one controller that returns the system configuration value and that value we can show in specific tag via jquery.
Step 2: create controller file
Create controller class file Storeconfig.php in app/code/Dolphin/Custom/Controller/Custom/ folder with the following code.
<?php
namespace Dolphin\Custom\Controller\Custom;

class Storeconfig extends \Magento\Framework\App\Action\Action
{
    protected $resultJsonFactory;

    protected $storeManager;

    protected $scopeConfig;

    public function __construct(
        \Magento\Framework\App\Action\Context $context,
        \Magento\Framework\Controller\Result\JsonFactory $resultJsonFactory,
        \Magento\Store\Model\StoreManagerInterface $storeManager,
        \Magento\Framework\App\Config\ScopeConfigInterface $scopeConfig
    ) {
        $this->resultJsonFactory = $resultJsonFactory;
        $this->storeManager = $storeManager;
        $this->scopeConfig = $scopeConfig;
        parent::__construct($context);
    }

    /**
     * Execute view action
     *
     * @return \Magento\Framework\Controller\ResultInterface
     */
    public function execute()
    {
        $response = [];
        try {
            $configValue = $this->scopeConfig->getValue(
                'custom/data/message',
                \Magento\Store\Model\ScopeInterface::SCOPE_STORE
            );
            $response = [
                'success' => true,
                'value' => __($configValue)
            ];

        } catch (\Exception $e) {
            $response = [
                'success' => false,
                'value' => __($e->getMessage())
            ];
            $this->messageManager->addError($e->getMessage());
        }
        $resultJson = $this->resultJsonFactory->create();
        return $resultJson->setData($response);
    }
}
we have already created one system configuration field via system.xml and it stores one value or text that we will get it and put in response name array and that response return in JSON.
Step 3: create html file.
Create html file custom.html in app/code/Dolphin/Custom/view/frontend/web/template folder with the following code.
<p class="message" data-bind="html: getValue()"></p>
our created function “getValue()” in the “P” tag. When that function will call it will get the configuration value and as per our jquery code, it will show the value on the P tag which has “instructions” class.
I Hope, This instruction will be helpful for you.
Happy Coding with magento2!! 🙂
If you have any difficulties regarding this blog, do consider them posting in the Comments section below!
I’m here to help.
Thank you!

We can help you with
- Dedicated Team
- Setup Extended Team
- Product Development
- Custom App Development
Our Offices

AHMEDABAD (INDIA)
B-203, B-204, Empire Business Hub, Science City Road, Sola, Ahmedabad – 380060

BERLIN (GERMANY)
Badensche Str. 28, 10715 Berlin, Germany

CALIFORNIA (USA)
9601 Reseda Blvd, Apt#223, Northridge CA-91324, USA

ALBERTA (CANADA)
302 Skyview Ranch Drive NE, Calgary, Alberta, Canada T3N0P5


