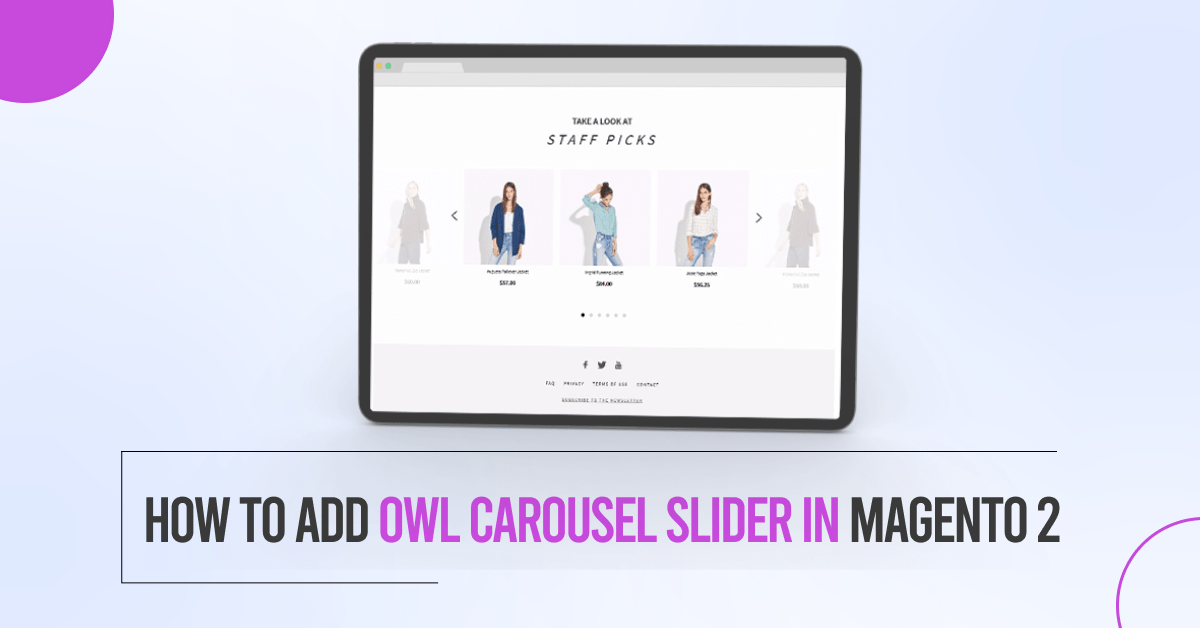
How to add owl carousel slider in Magento 2

In this article. we will explain how to add an owl carousel slider in Magento 2.
Owl carousel is a popular product list slider plugin. It can be added to your most popular product slider, featured product slider, and so on.
Now, we will start to learn step-by-step. Hire Magento 2 developers from Dolphin Web Solution.
Step 1: Go to the following URL to get the latest Owl carousel CSS and JS file and put it into the below path:
https://owlcarousel2.github.io/OwlCarousel2/
Add CSS under app/design/frontend/Dolphin/custom/web/css folder
Add JS under app/design/frontend/Dolphin/custom/web/js folder
Step 2: Now Create a static block or phtml file in your custom theme. And Now you must insert the following code in app/design/frontend/Dolphin/custom/Magento_Theme/templates/slider.phtml file.
<!--
/**
 * Created By: Dolphin Web Solution Pvt. Ltd.
 */
-->
<!DOCTYPE html>
<html>
    <body>
        <div class="owl-carousel owl-theme">
            <div class="item">
                <img src="{Image path}" />
            </div>
            <div class="item">
                <img src="{Image path}" />
            </div>
            <div class="item">
                <img src="{Image path}" />
            </div>
            <div class="item">
                <img src="{Image path}" />
            </div>
            <div class="item">
                <img src="{Image path}" />
            </div>
            <div class="item">
                <img src="{Image path}" />
            </div>
        </div>
    </body>
</html>
Step 3: Then, you need to call the owl carousel CSS file at app/design/frontend/Dolphin/custom/Magento_Theme/layout/default_head_blocks.xml and put the below code:
<?xml version="1.0"?>
<!--
/**
 * Created By: Dolphin Web Solution Pvt. Ltd.
 */
-->
<page xmlns:xsi="http://www.w3.org/2001/XMLSchema-instance" xsi:noNamespaceSchemaLocation="urn:magento:framework:View/Layout/etc/page_configuration.xsd">
    <head>
        <css src="css/owl.carousel.min.css" rel="stylesheet" type="text/css"  />
        <css src="css/owl.theme.default.min.css" rel="stylesheet" type="text/css"  />
    </head>
</page>
Step 4: Then, you need to insert the owl js code in the app/design/frontend/Dolphin/custom/web/js/custom.js file.
<!--
/**
 * Created By: Dolphin Web Solution Pvt. Ltd.
 */
-->
require(['jquery', 'owlcarousel'], function($){
    $(document).ready(function() {
        $('.owl-carousel').owlCarousel({
            loop:true,
            margin:10,
            nav:true,
            responsive:{
                0:{
                    items:1
                },
                600:{
                    items:3
                },
                1000:{
                    items:4
                }
            }
        });
    });
});
Step 5: Now You must configure the slider.phtml files in the app/design/frontend/Dolphin/custom/Magento_Theme/layout/cms_index_index.xml layout file. This slider calls into the home page. If you want to put the slider into other pages or layout files then put the below code into your layout file.
<?xml version="1.0"?>
<!--
/**
 * Created By: Dolphin Web Solution Pvt. Ltd.
 */
-->
<page xmlns:xsi="http://www.w3.org/2001/XMLSchema-instance" layout="1column" xsi:noNamespaceSchemaLocation="urn:magento:framework:View/Layout/etc/page_configuration.xsd">
    <body>
        <referenceBlock name="content">
            <block class="Magento\Framework\View\Element\Template"  name="custom.slider"
                template="Magento_Theme::slider.phtml" />
        </referenceBlock>
    </body>
</page>
Step 6: Create the requirejs-config.js file at app/design/frontend/Dolphin/custom and insert the below code to configure your carousel javascript using the requirejs-config.js file.
<!--
/**
 * Created By: Dolphin Web Solution Pvt. Ltd.
 */
-->
var config = {
    "deps": [
        "js/custom"
    ],
    paths: {
        'owlcarousel': 'js/owl.carousel.min'
    },
    shim: {
        'owlcarousel': {
            deps: ['jquery']
        }
    }
};
Note: “requirejs-config.js” is the file in which we add all configurations. Just read the Magento doc below link you will get more clarity.
https://devdocs.magento.com/guides/v2.4/javascript-dev-guide/javascript/requirejs.html
Result:
After you implement the above code, check the output to the owl carousel slider shown on the home page.

That’s it!
I hope this technical blog will help you to find what you were looking for.
If you have any further questions about Magento 2 theme development or if need any help from our Magento 2 expert, contact us now for a free consultation.
Bookmark it for your future reference. Do comment below if you have any other questions.
P.S. Do share this note with your team.
